Icon Horse blogIcon Horse + Zapier: Beautiful icons in every automation
Big news! As of today, Icon Horse is officially integrated with Zapier, making it easier than ever to add beautiful favicons to your automated workflows. What used to require custom code and hours of setup can now be done in just a few clicks.

Why this matters
Zapier powers millions of automations for businesses of all sizes. From simple lead notifications to complex multi-step workflows, these automations often involve websites, tools, and services that users recognize by their icons. Now you can make your automated content more visually appealing and instantly recognizable.
There's lots of things you'd want to use Icon Horse for – here's a few common use cases to get you started:
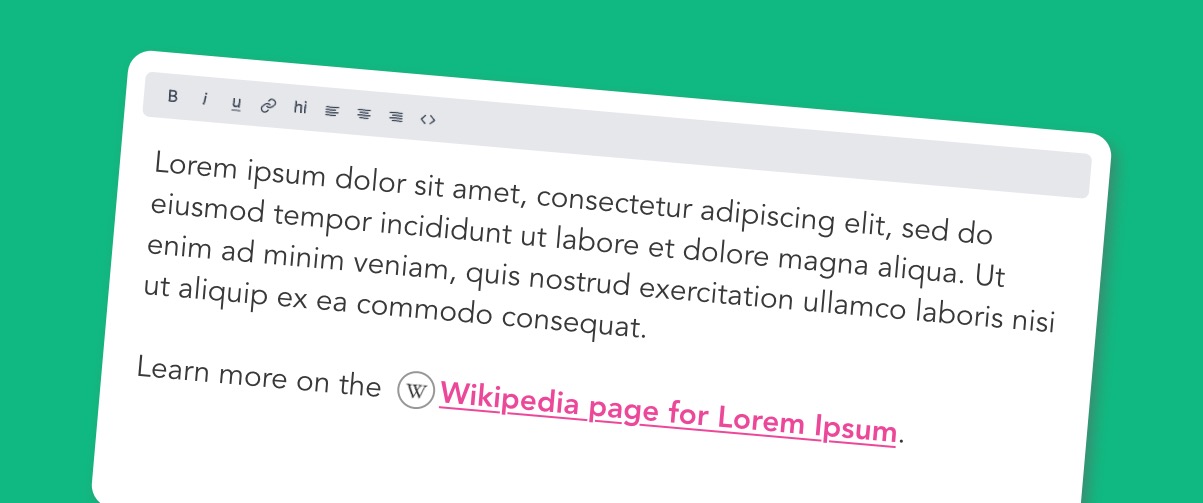
Gorgeous styled links
Give your users a visual queue of where a link will take them by showing an icon next to it. Perfect for automated email campaigns, Slack notifications, or team dashboards.
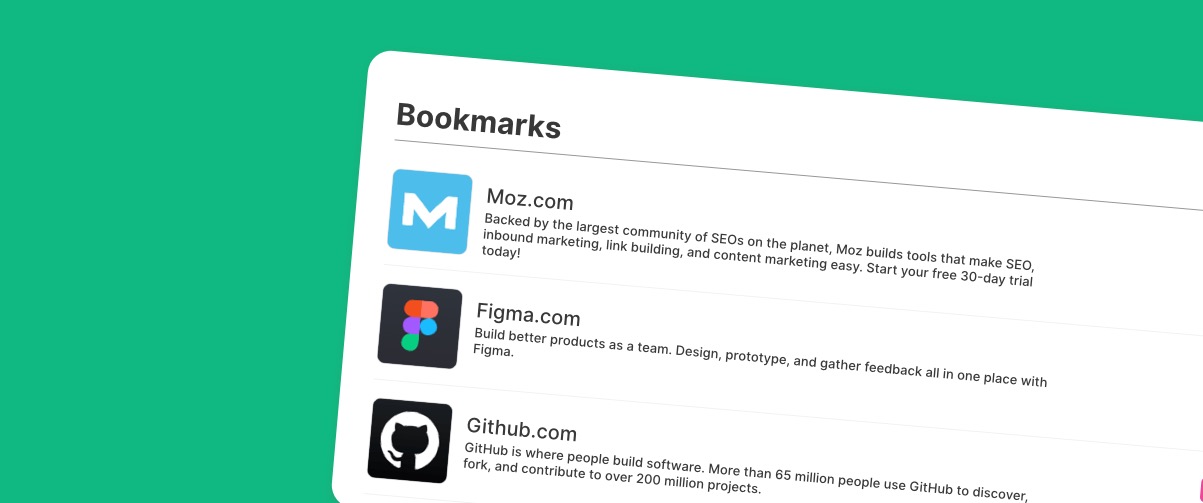
Enhanced dashboards
Take your dashboard displays to the next level by showing icons for each website or tool your team uses. Whether it's a Notion database,
Airtable view, or custom dashboard, icons make everything more scannable.
Lead enrichment workflows
When new leads come in through HubSpot,
Salesforce, or
Pipedrive, automatically fetch their company's favicon to make lead lists more visual and professional.

How we built it (in an afternoon!)
One of the things I love about Zapier is how developer-friendly their platform is. What could have been weeks of work building individual integrations with dozens of services became an afternoon project that instantly connected Icon Horse to thousands of apps.
The technical bits
Our integration is built using Zapier's platform CLI and consists of just a few key files:
The main app configuration (index.js) defines our integration and imports the core functionality:
import fetchIconCreate from './triggers/fetch_icon.js';

export default {
  triggers: {
    [fetchIconCreate.key]: fetchIconCreate,
  },
  // ...
};
The fetch icon trigger (triggers/fetch_icon.js) handles the heavy lifting. It accepts a hostname and optional parameters, then constructs the appropriate Icon Horse API call:
perform: async (z, bundle) => {
  const { hostname, size, fallback_text, fallback_bg } = bundle.inputData;
  let url = `https://icon.horse/icon/${hostname}`;

  // Add parameters for Pro/Enterprise features
  const params = {};
  if (size !== 'small') params.size = size;
  if (fallback_text) params.fallback_text = fallback_text;
  // ...

  const response = await z.request({ url, params });
  return [{ icon_url: finalUrl, hostname, ... }];
}
Optional authentication for Pro/Enterprise users who want custom sizes, fallback colors, and other advanced features. But here's the beauty – basic usage requires zero setup. No API keys, no complicated auth flows.
Testing made simple
Zapier's testing framework made development a breeze. With their CLI, we could test our integration locally before deploying:
npm test
zapier validate
zapier push
The whole process from idea to deployment took about 4 hours, including testing with various edge cases and documenting everything.
What's included
Our Zapier integration gives you access to:
- Basic favicon fetching – completely free, no API key required
- Multiple input formats – works with hostnames (example.com) or full URLs
- Rich output data – icon URL, content type, size info, and fallback detection
- Pro features – custom sizes, fallback colors, and advanced options (requires Pro/Enterprise API key)
- Reliable fallbacks – always returns something, even if the site has no favicon
The integration returns structured data you can use in any subsequent Zapier steps:
{
  "icon_url": "https://icon.horse/icon/github.com",
  "hostname": "github.com",
  "content_type": "image/png",
  "is_fallback": false,
  "fetched_at": "2024-12-13T12:00:00Z"
}